
This is a super easy project. I made it in a few hours – really! It took me much longer to photograph the process then it did to knit it.
This project was inspired by a knit cafe student. Kat attended out Knit 101 class, and by the 4th class she came in with this little number that she invented herself. I was so impressed by her cleverness for figuring!
The project seemed like a great thing to teach a beginner. Fast to do with really only a few basics and not very many stitches to keep track of. I asked her if I could reinvent her pattern for our blog and spread the knit-joy! She agreed! Thank you Kat!
Kat figured out how to add the pretty cable twist into this pattern on her own gumption, but I have included a step-by-step here so you won’t have to go to the trouble. Knitter’s secret – cables are really easy! You’ll see!

Thanks to Edie for modelling!
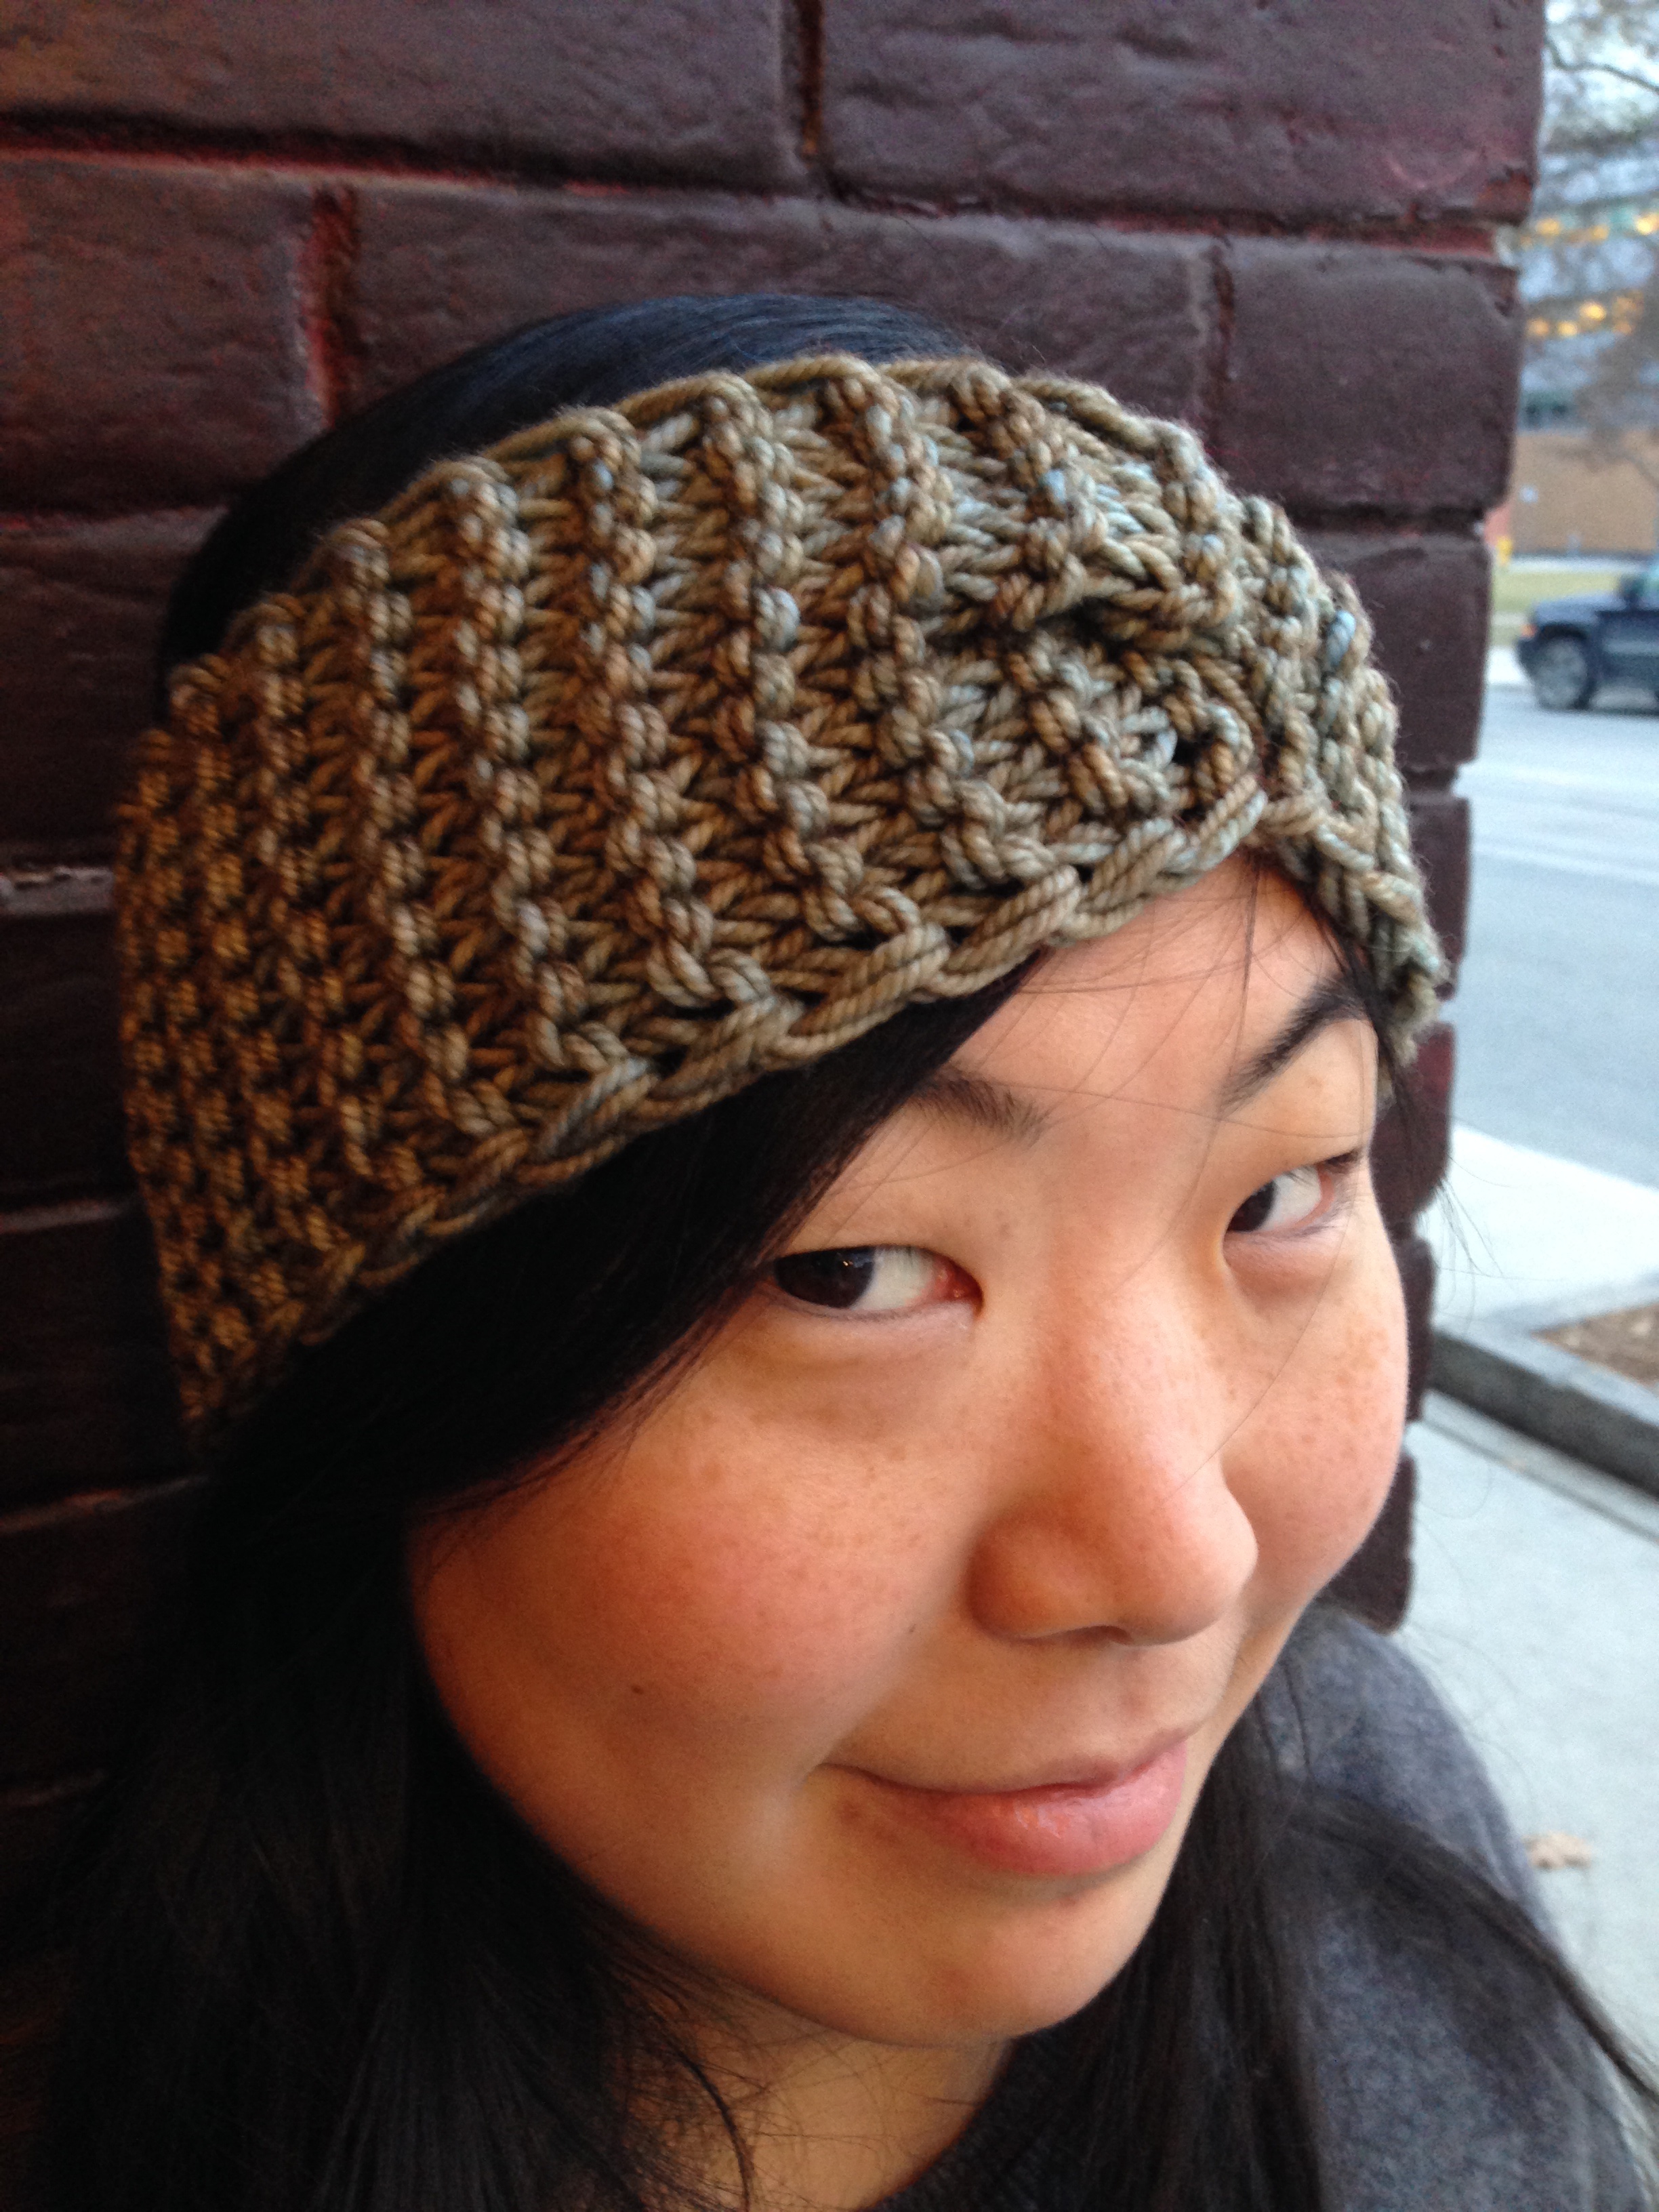
Knit 101 Headband
Finished Dimensions: Width 10cm (4″), Circumference unstretched: 44cm (17″)
10mm needles, cable needle
1 skein Madelinetosh Tosh Chunky held two strands together.
Tosh Chunky is 100% Superwash Merino, 151m (165yds), 14-16sts/10cm (4″)
For my version I used exactly half the ball.
When you wind your ball, make sure you get a center pull so you can hold two yarn ends together to knit this project. Alternatively you can wind two separate balls.
Gauge in garter stitch – 13 sts/10cm (4″)
This is the tension that the project is knit to.
Gauge in stocking stitch – 12 sts/10cm (4″)
This will help you make substitutions, as all yarn labels have gauge knit with stocking stitch. If you find a yarn that knits 12 sts over 10cm it will be the right weight for this project without double stranding it.
Note: I made a slipped edge which is easy to do, but the headband will still look wonderful without this detail. If you feel like you’re inclined to try this kind of edge you can add it on like this:
The first stitch of every row, slip from one needle to the other, inserting your needle through the stitch like you would if you were purling. For those who have not purled this means insert the needle from right to left through the stitch and transfer it to the other needle. Before you knit your next stitch bring your yarn between the two needles so it sits behind your work. Repeat this on the first stitch of every row!
Cast on 12 stitches
Knit 23 cm (9″ ) or to fit half way around your head when stretched out some
To make Cable Twist:
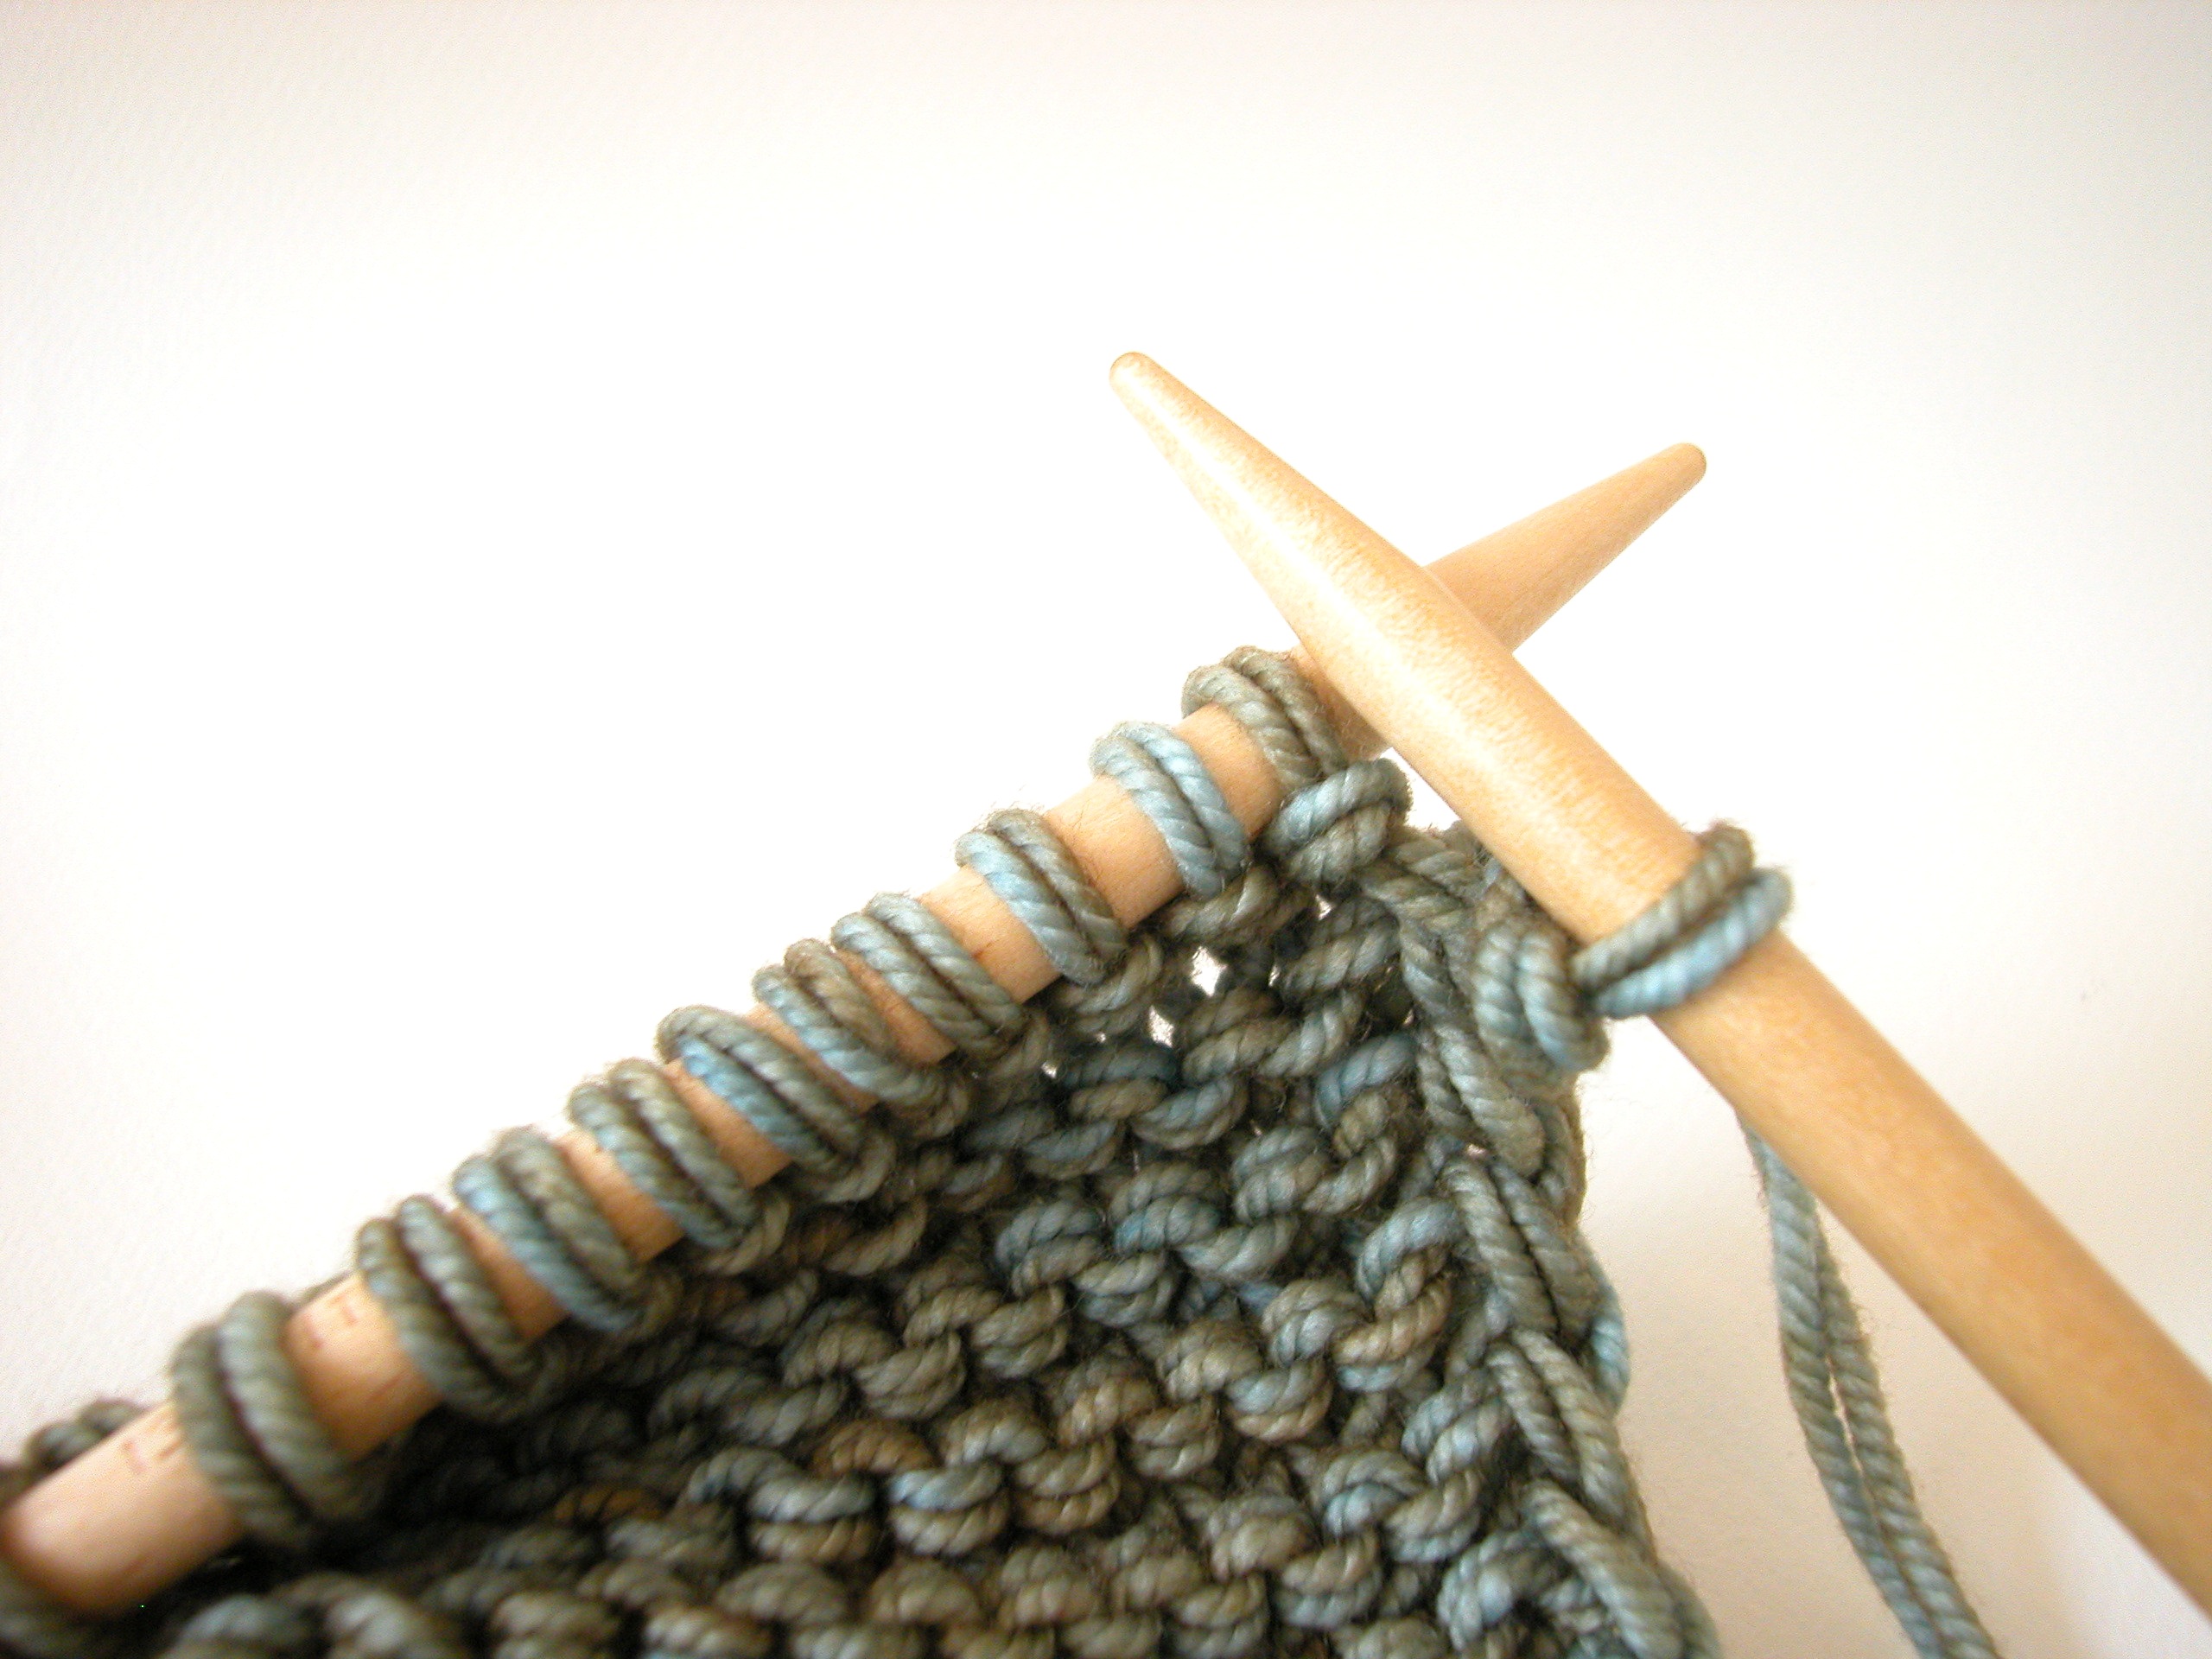
Knit 1, Slip the next 5 stitches on a cable needle and hold behind the rest of your stitches
Knit the next 5 stitches from your original needles (not the ones on the cable)
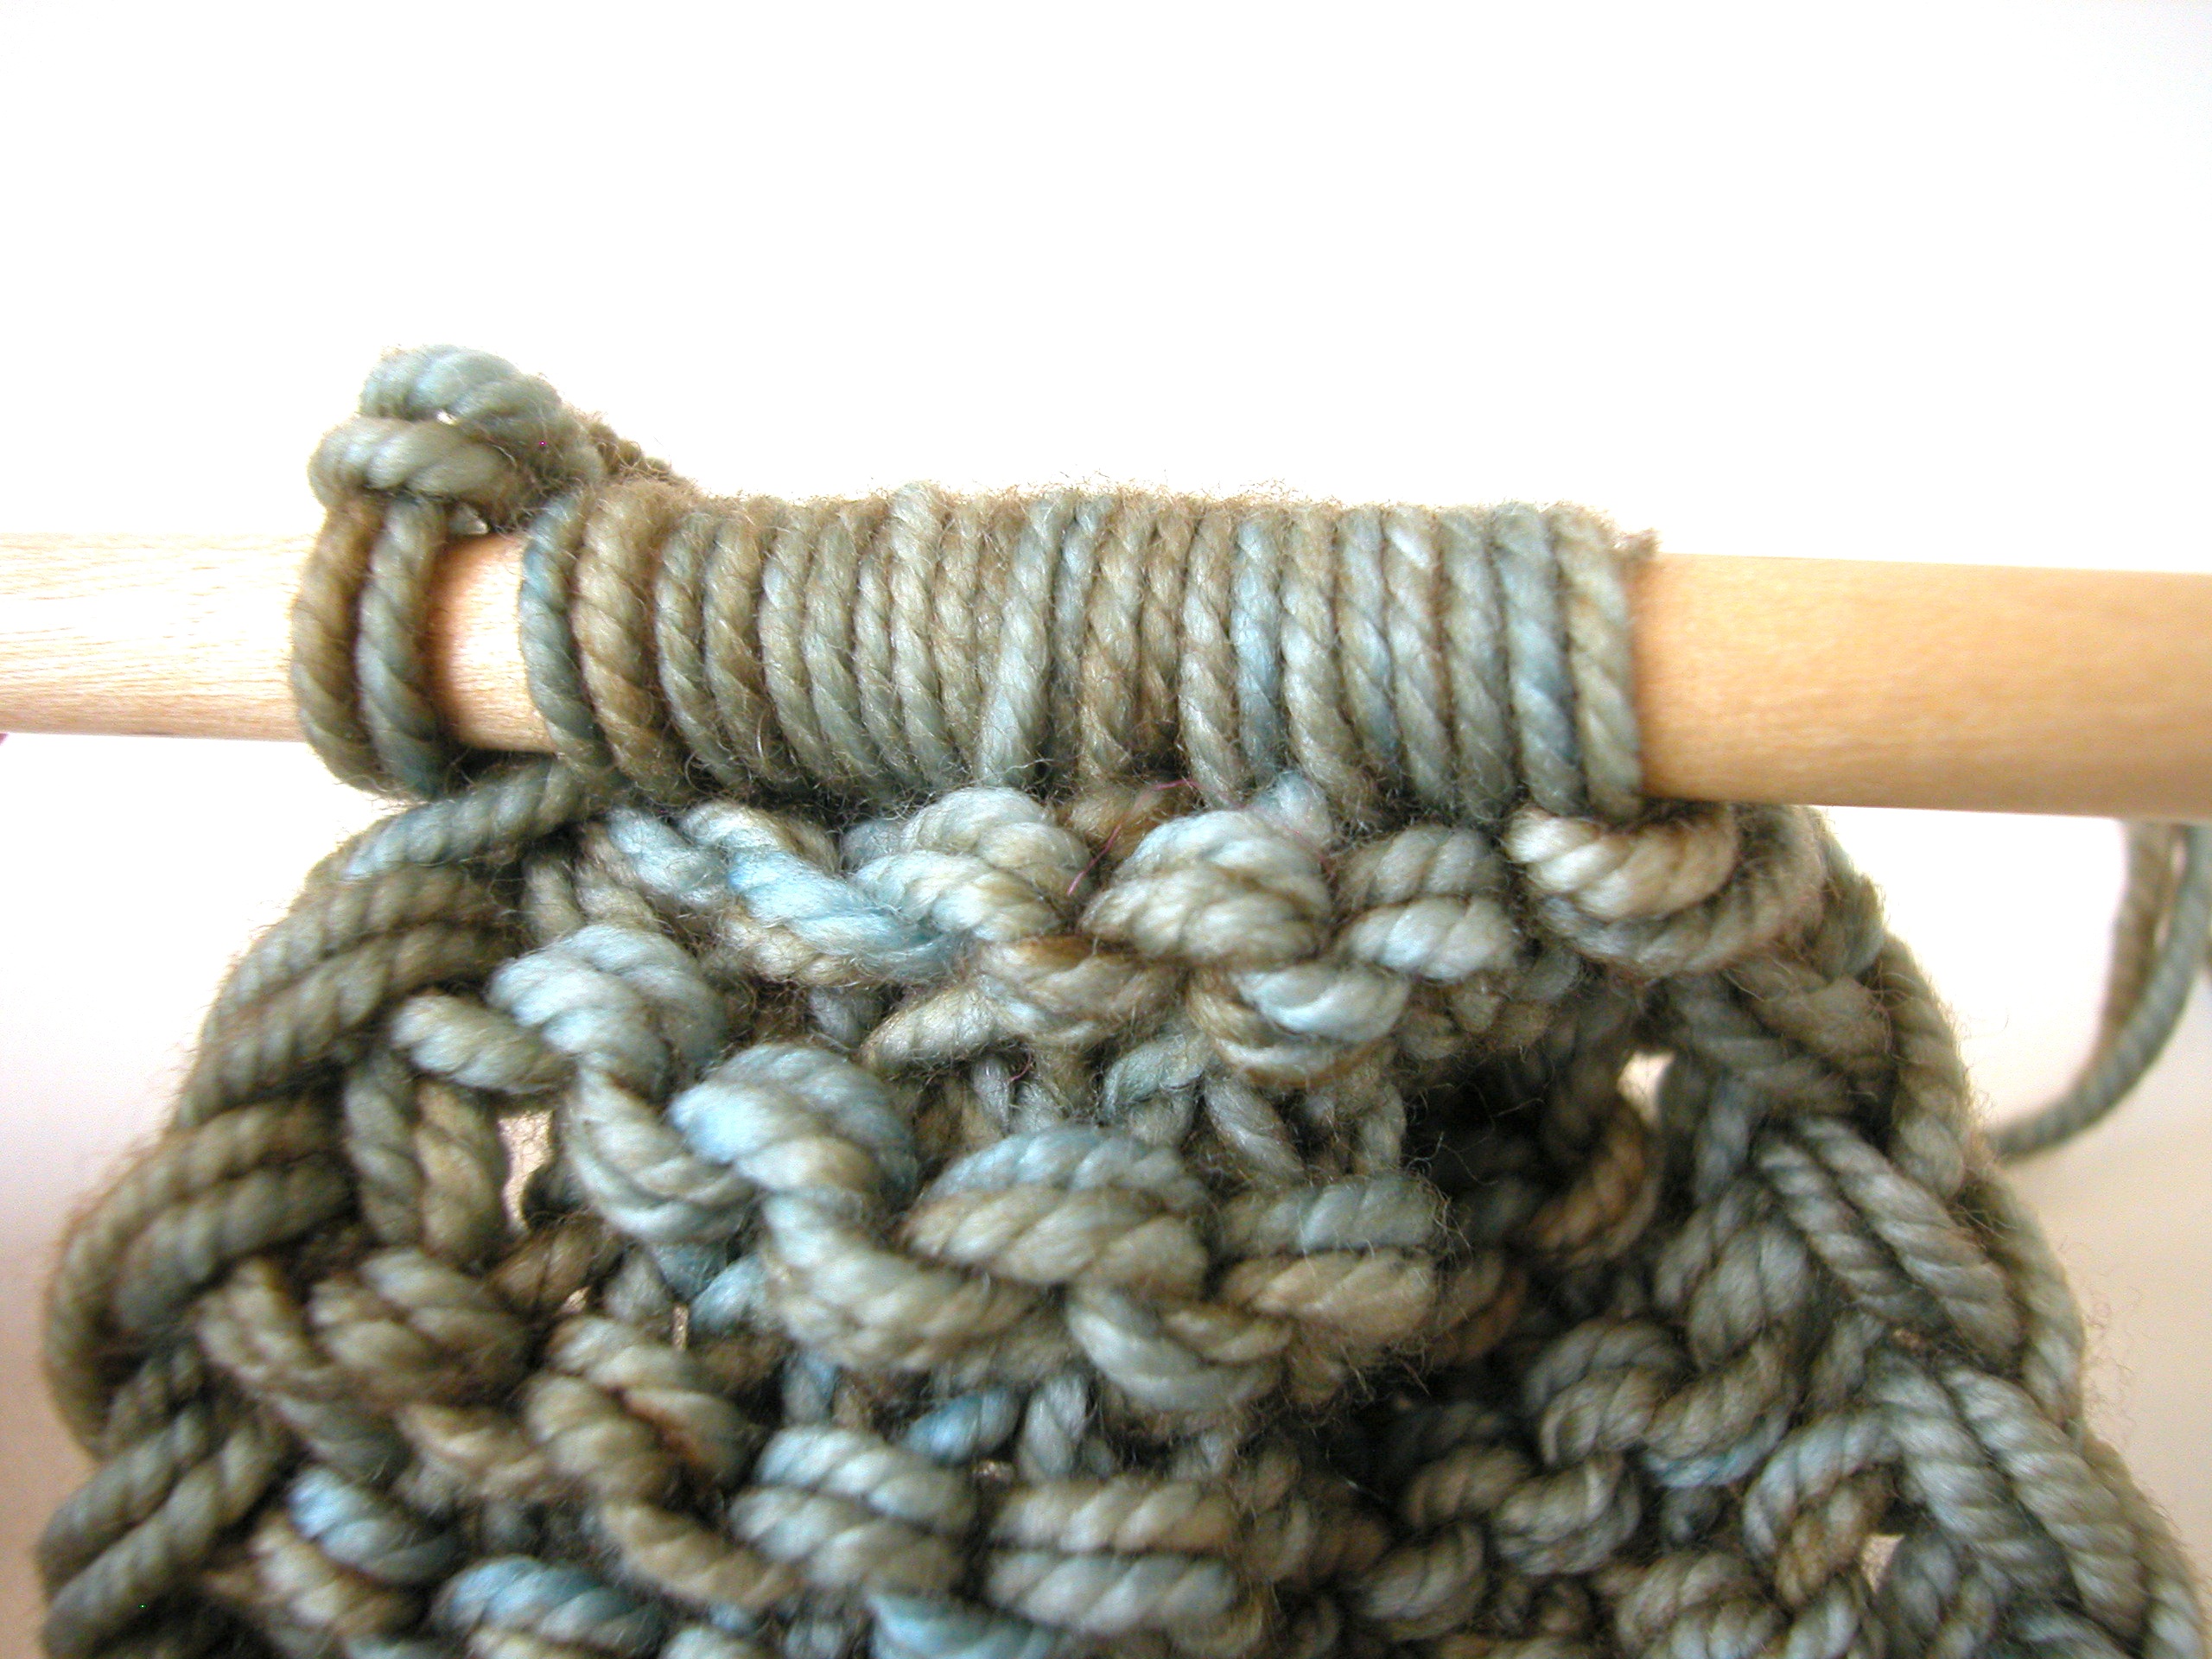
Knit the 5 stitches from the cable needle
Knit the last stitch from your original needle.
Knit another 23cm (9″) or to fit half way around your head when stretched out.
Cast off. leaving a long tail for seaming and seam ends together.
Congratulate yourself on your sweet new headband!
For another version of this headband pattern called
Knit 101 Headband Too, check it out HERE
Cabling Tutorial for Headband
 Knit one.
,
,
,
.
 Slip the next 5 stitches on a cable needle and hold behind the rest of your stitches
.
.
.
 Knit the next 5 stitches
,
.
.
.
 Like so!
.
.
.
.
 Knit the 5 stitches from the cable needle (starting with what would have been your 2nd stitch, the first one you slipped)
.
.
.
Knit the last stitch
.
.
.
.
.
Voila!
.
.
.
.
 et volila!
.
.
.
.
I tried a few different ways of seaming the headband together. One left a seamless join, but a bulky underside. The other is a little less perfect, but lies flat. I chose the latter for my headband. Here’s both versions – you can choose the way you like best!
Seaming
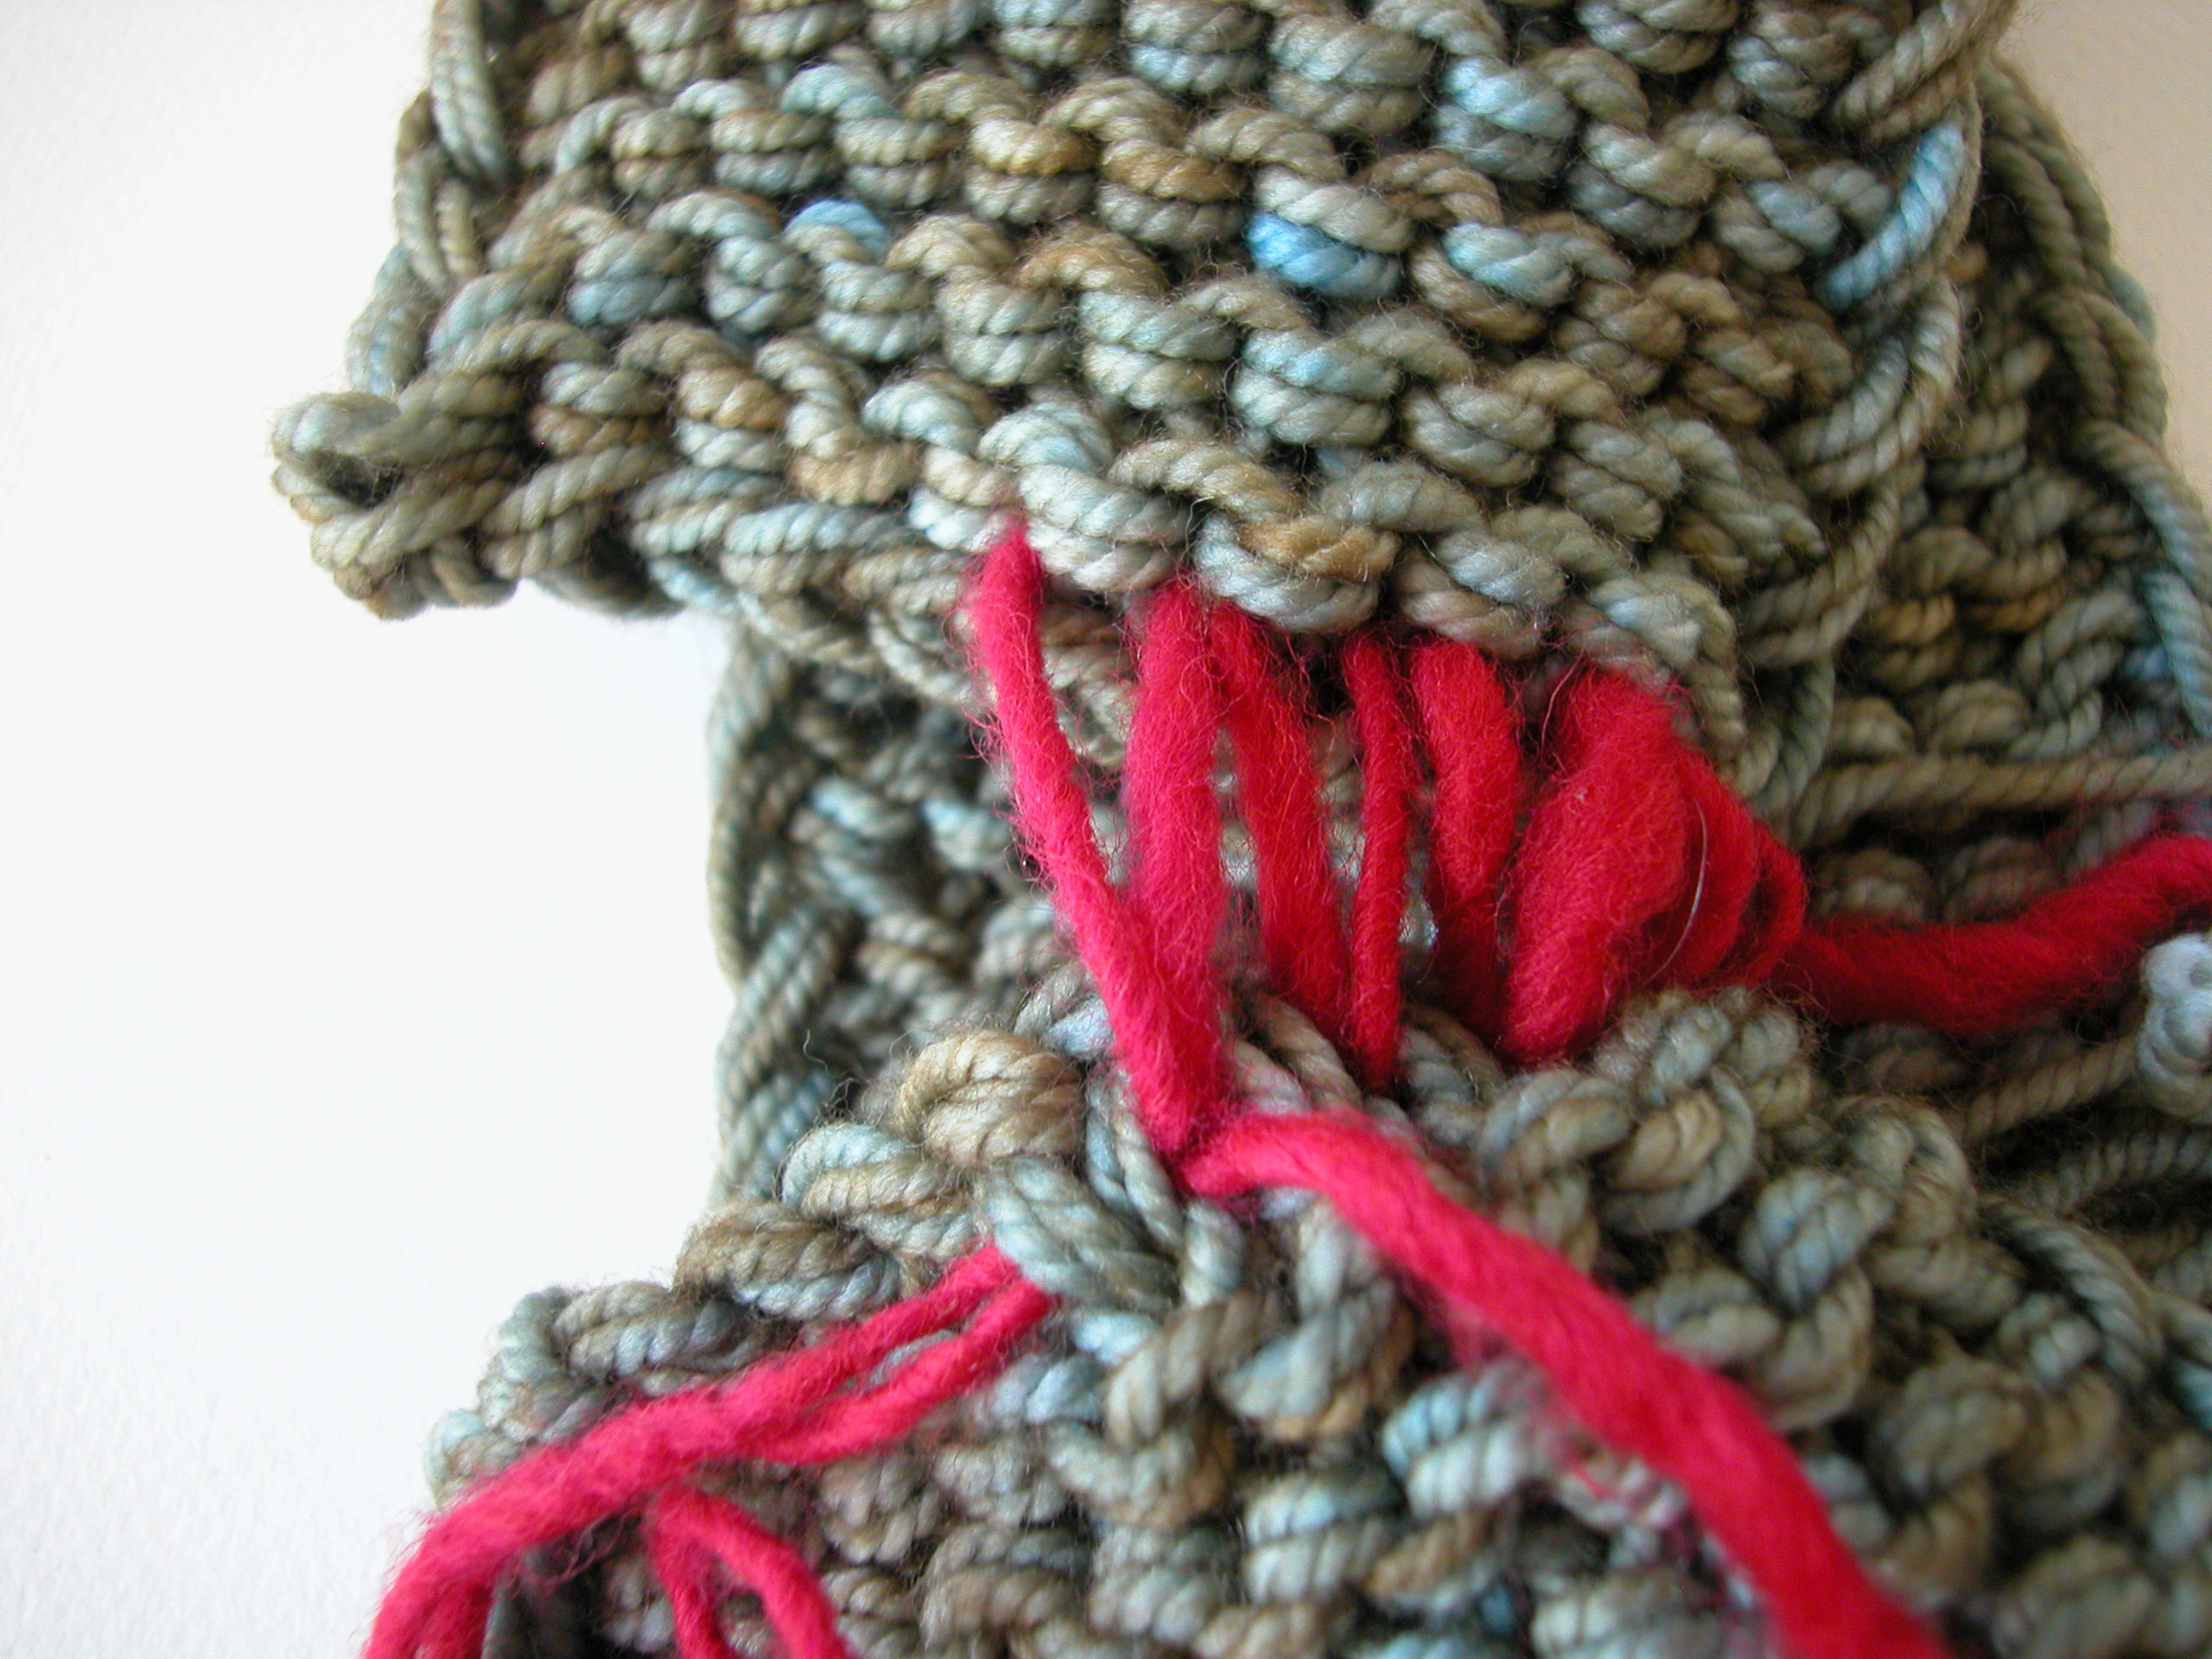
Seamless join with bulky underside:
 The pink triangles highlight the stitches. Insert your needle under a stitch on one side of your headband. This picture shows the cast off side. Make sure you get both sides of the triangle. Let the orange arrow be your guide!

This is the cast on side. Again- insert your needle through the full stitch (both sides of the triangle.
Move back and forth across the two sides- from cast off to cast on! See how the stitches you are making resemble the “V” shapes of your knit stitches!
 When you pull it tight the stitches disappear. Even this bright red melts away! …ooooooh!

This is the back side. It is nice and neat but a bit bulky with such thick yarn.
Running Stitch Join, lies flatter but not as neat:

Insert needle through the cast on edge and the cast off edge straight through.

Pull through both, and change the direction of your needle to connect cast off to cast on. Keep weaving back and forth till you have connected all the stitches.
 The result looks like this on your working side.
 It looks a little bit better on the back side. Both sides sit flat.
Choose which method you prefer, or try both and compare your results. It doesn’t take too long with only 12 stitches.


The finished goods!
Craftily yours
Kristin


This looks so cute, i’m gonna try this one after the other thousand things i still have to do ! Thanks for sharing this 🙂
Isn’t “slip as if to purl” putting the needle in from right to left? Or have I been doing it wrong?
No, you are right – I messed up! Thanks for pointing that out. It has been corrected.
Could you do a provisional cast on and join at the end with the kitchener stitch?
Yes, you certainly could.
This is such a great idea. Thank you for the fabulous free pattern. 🙂
you are quite welcome
That is good information – slip first stitch purlwise, then yarn to back. I finally developed that as the best way to make a pleasant selvedge on any piece of work, but had not seen anyone else do it.
Thanks for the pattern ,it’s super pretty
what color is the brown/tan?
I’m sorry I don’t remember the colour name. It is more of a green though.
Please review the pattern instructions. Finished Dimensions 17″, yet in the instructions, knit 9″ x 2 equals 18″, plus the cable twist results in a much larger circumference. Thank you, Pauline
Hi Pauline,
Thanks for the feedback. I find the cable does not add length because the twist contracts the dimension, I also find you lose some length in the seaming but you may be right the circumference could end up a bit longer then 17″. If you are making it for yourself you can hold it up to your head at the half way mark and stretch a bit and then knit the same length after the twist as the pattern suggests. This is a better method as not all heads are the same size.
Kristin